Preparing your Shopify site
Before you can use the Frosmo Platform on your Shopify store, you need to install and configure the Frosmo Personalization Shopify App, synchronize your products, and define placements for recommendations. Follow the steps below to get started.
1. Install the Frosmo Personalization App
- Go to the Frosmo Personalization app in the Shopify App Store (https://apps.shopify.com/frosmo) and click Install.
Frosmo will create the required Frosmo Control Panel (FCP) instance and Frosmo script name for your store.
2. Configure Frosmo
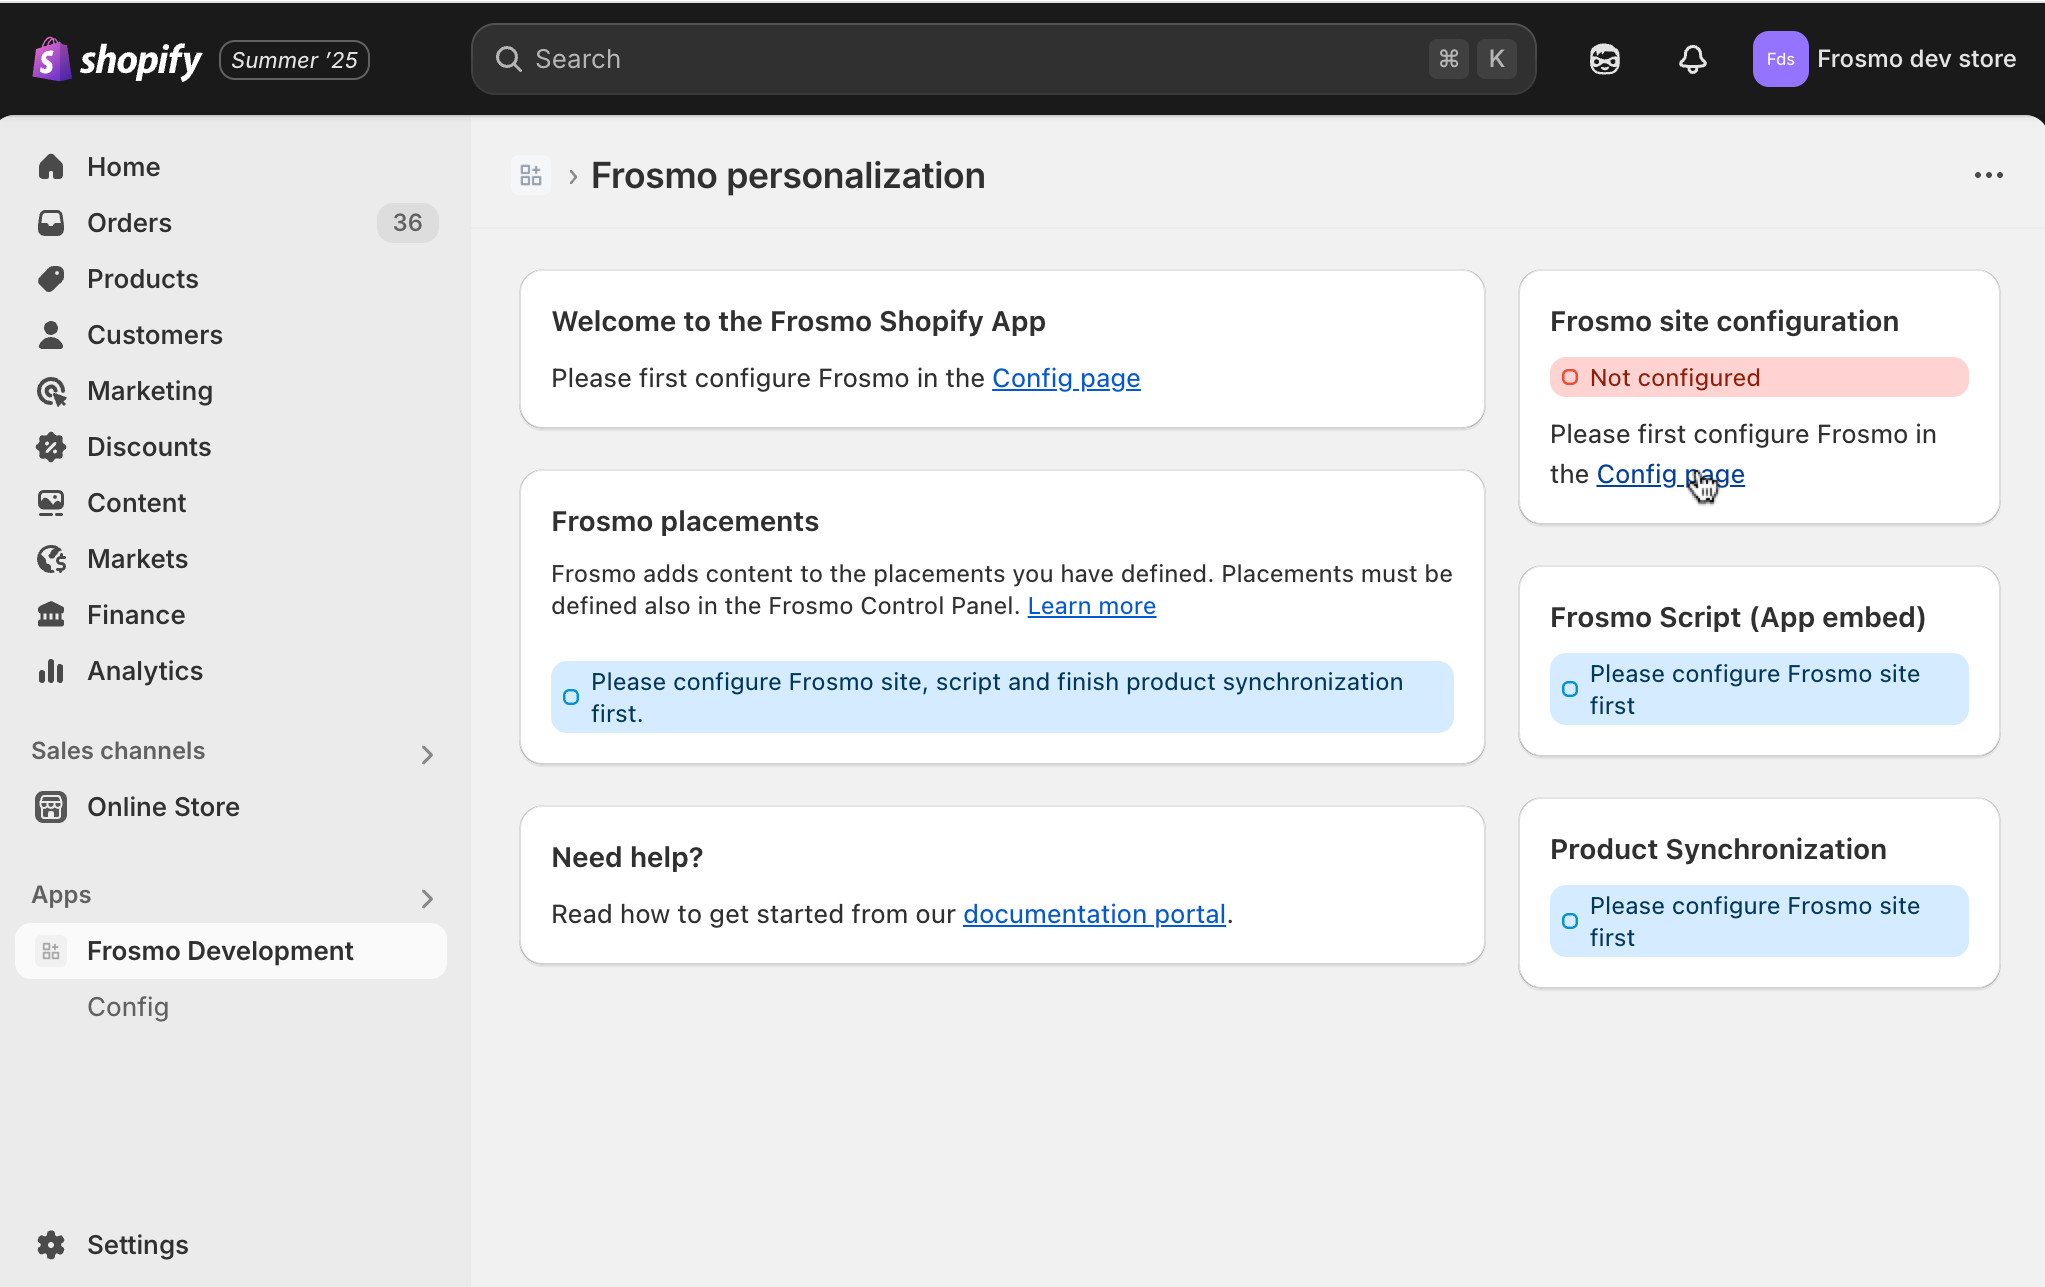
- Go to the Config page (link in the right column of the app).
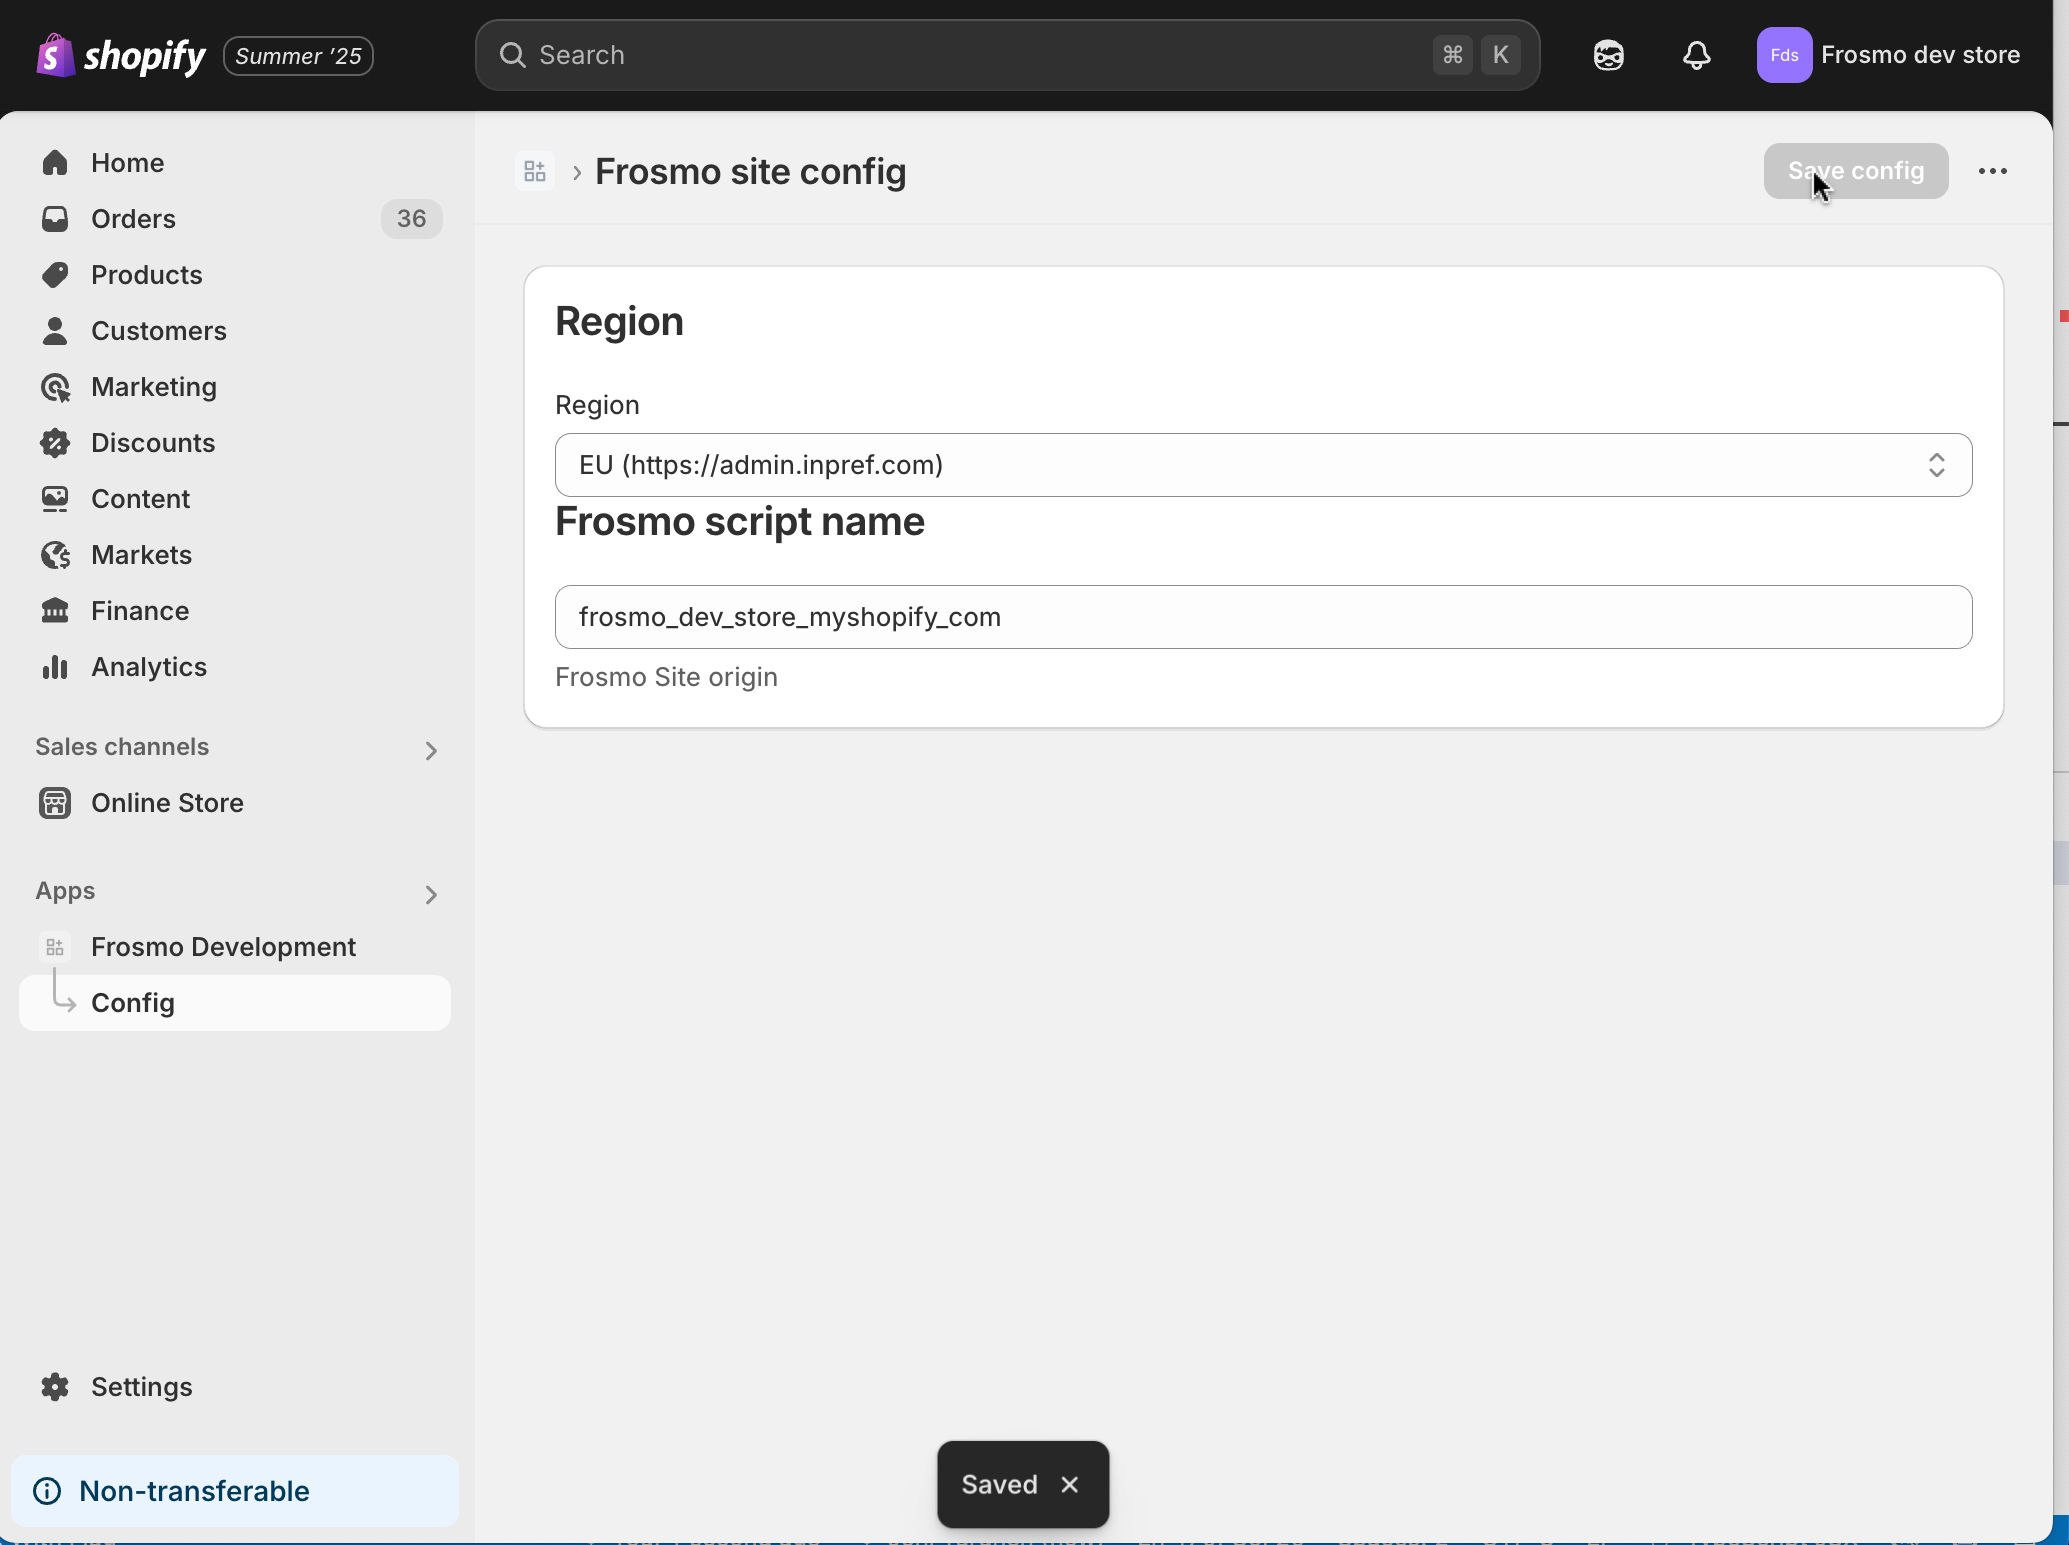
- On the Frosmo site config page:
- Select your region (provided by Frosmo)
- Enter your Frosmo script name (provided by Frosmo)
- Click Save config
- If the configuration is successful (you see an "OK" message), return to the app's main page by clicking Frosmo under Apps in the left navigation.
3. Configure the Frosmo Script (App Embed)
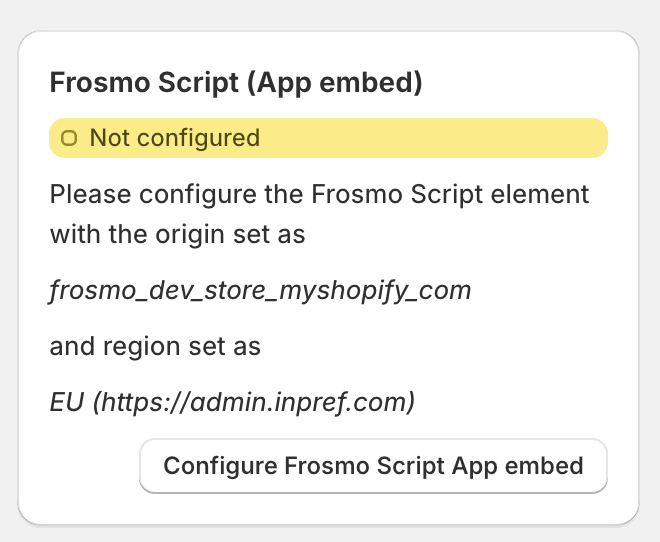
- On the app's main page, locate the Frosmo Script (App embed) box on the right.
- Click Configure Frosmo Script App embed.
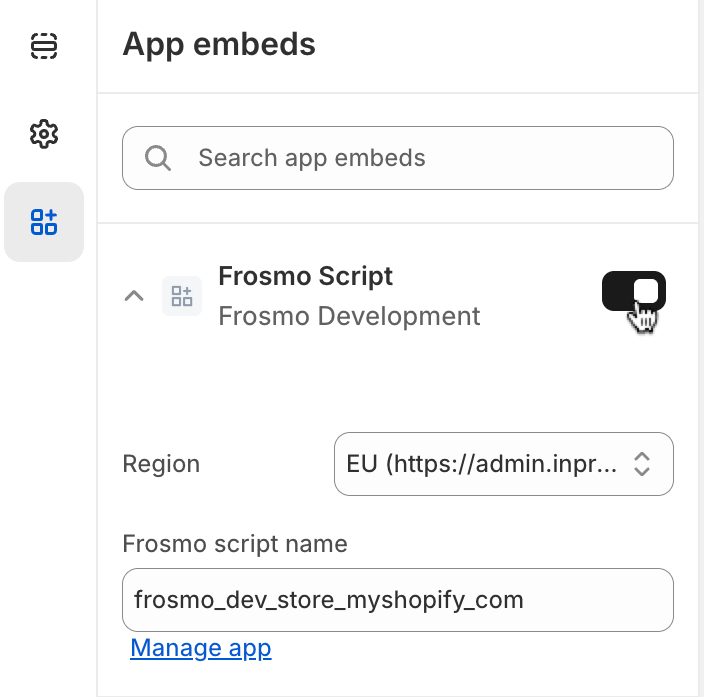
This opens a new store preview window in the App Embeds section. - In the App Embeds window:
- Select your region (same as above).
- Enter your Frosmo script name (same as above).
- Activate the script by toggling the switch next to Frosmo Script.
- Click Save in the top right corner.
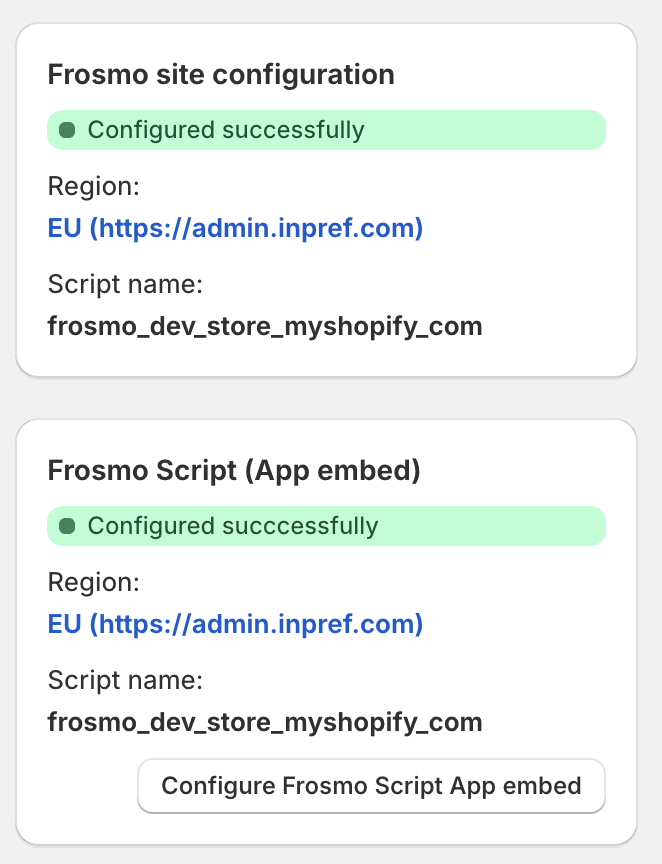
4. Verify Configuration
- Return to the Frosmo Personalization app page (close the preview window or navigate back).
- Confirm that both Frosmo site configuration and Frosmo Script (App embed) sections display green notification bars with "Configured successfully."
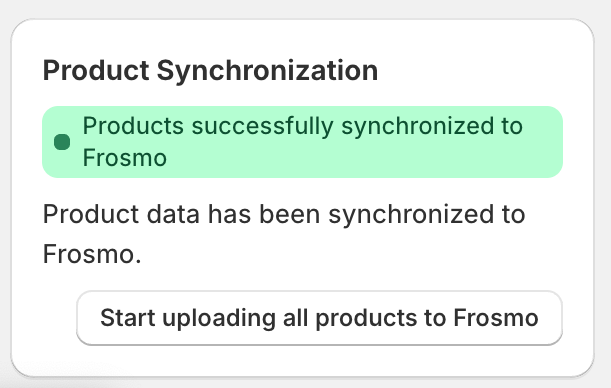
5. Synchronize Products
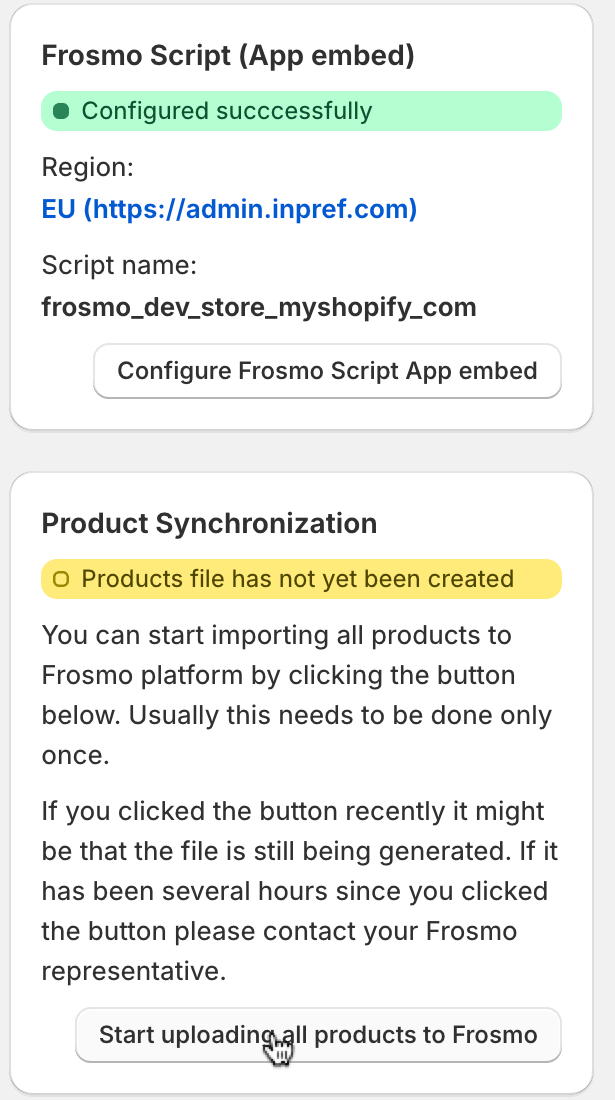
- Under Product Synchronization, click Start uploading all products.
- Wait for the process to complete (this may take some time).
- Reload the page.
A successful synchronization will show a green notification: "Products successfully synchronized to Frosmo."
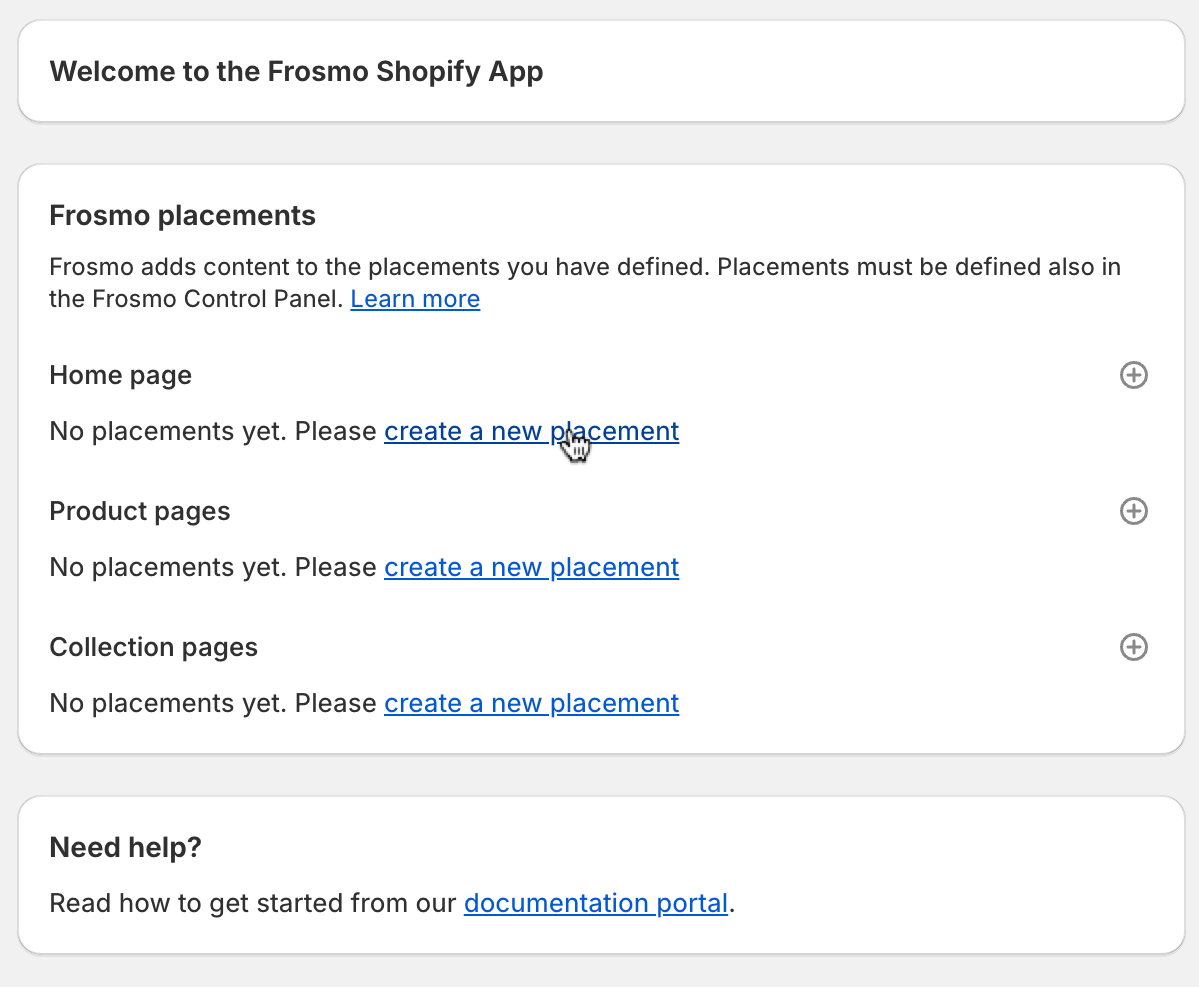
6. Define Placements
- Once all sections show green success notifications, you can create placements.
- Choose the page type for your placement (Home, Product, or Collection page).
- Click create a new placement next to your chosen page type.
7. Add Placement in Theme Editor
-
The Shopify theme editor will open, and Frosmo placement will appear in the left sidebar.
-
Close the initial modal window if it appears.
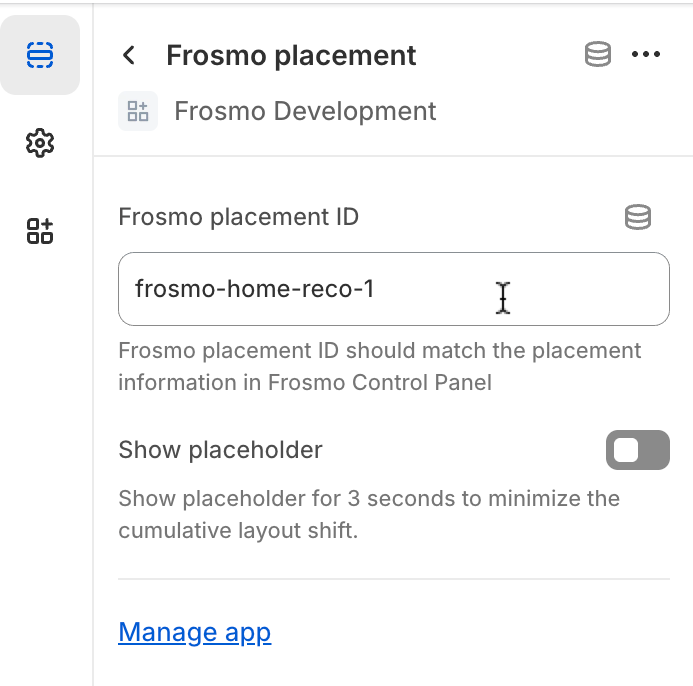
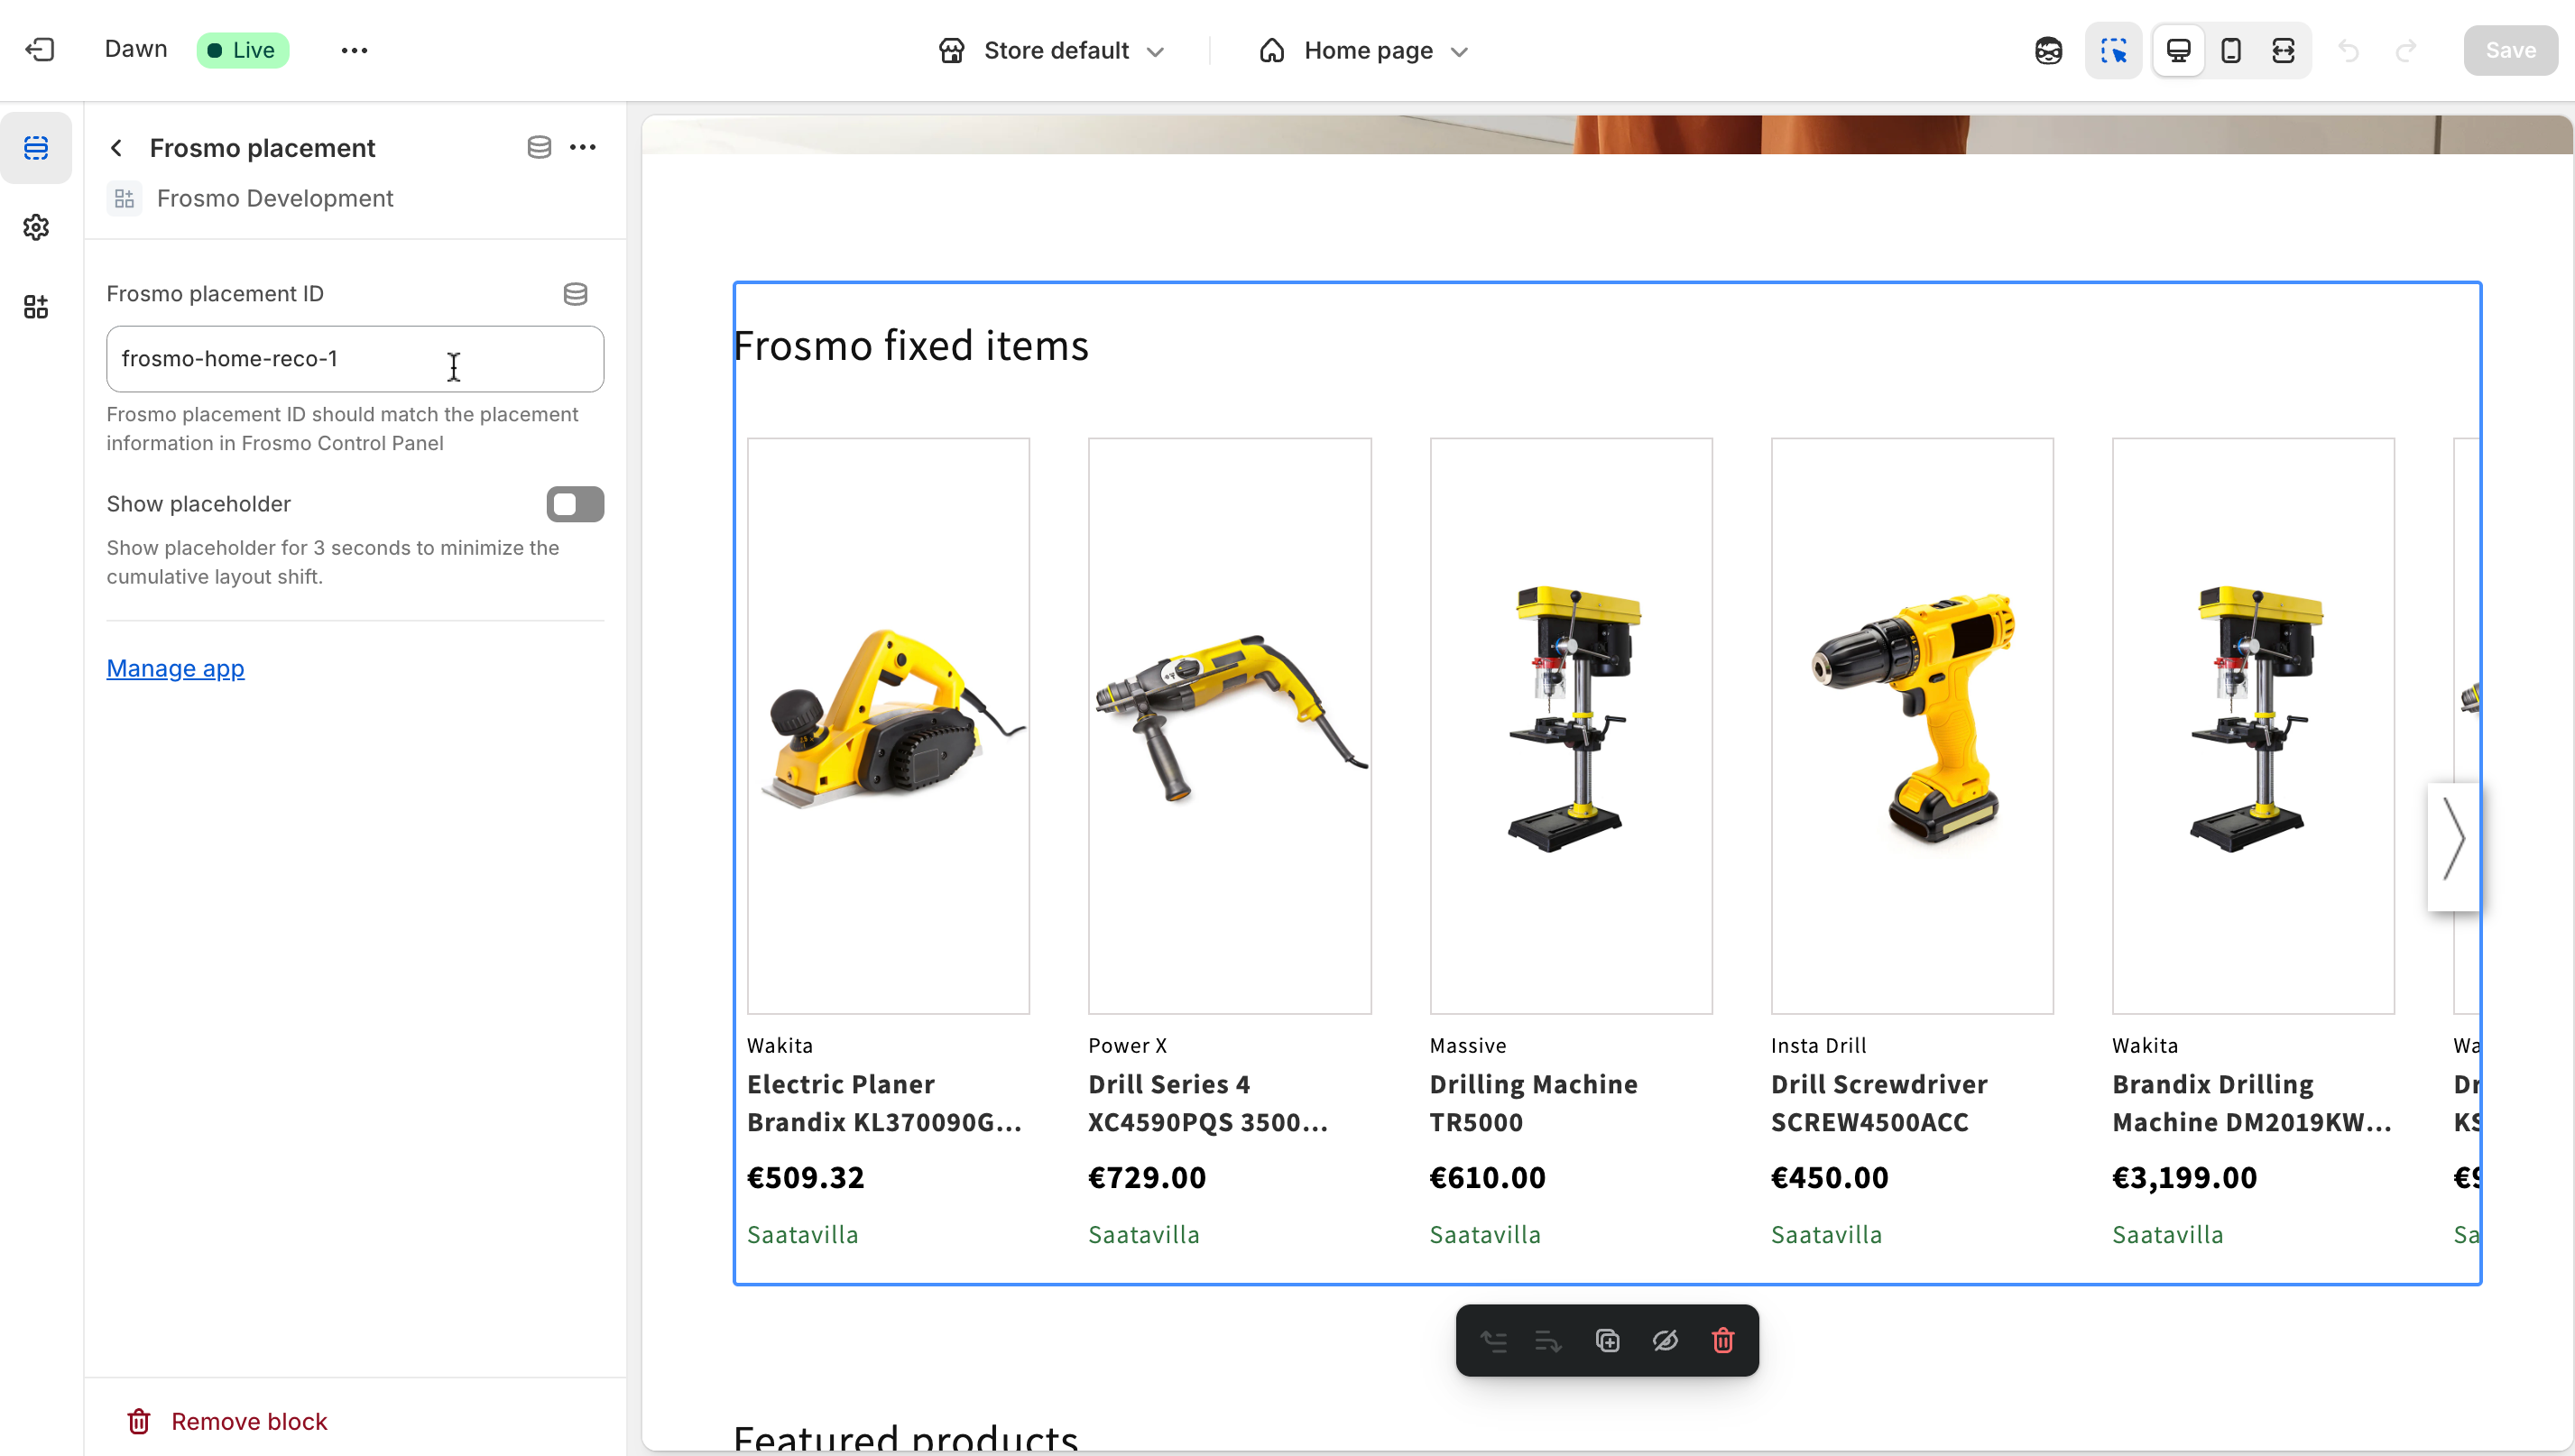
The Frosmo placement editing options will be visible in the rightmost column. -
Enter the Frosmo Placement ID in the text box.
This ID must match the corresponding placement ID in the Frosmo Control Panel.By default Frosmo has been setup with these placement IDs:
-
Home page:
- Recommendation 1:
frosmo-home-reco-1 - Recommendation 2:
frosmo-home-reco-2 - Recommendation 3:
frosmo-home-reco-3
- Recommendation 1:
-
Collection page:
- Recommendation 1:
frosmo-category-reco-1 - Recommendation 2:
frosmo-category-reco-2 - Recommendation 3:
frosmo-category-reco-3
- Recommendation 1:
-
Product page:
- Recommendation 1:
frosmo-product-reco-1 - Recommendation 2:
frosmo-product-reco-2 - Recommendation 3:
frosmo-product-reco-3
- Recommendation 1:
You can customize these IDs, but make sure they match between Shopify and the Frosmo Control Panel.
-
-
Click Save in the top right corner.
8. Preview
- The recommendation slider should now be visible in the theme editor preview.
For more information or troubleshooting, contact Frosmo support.